the Blog
RSS Feed
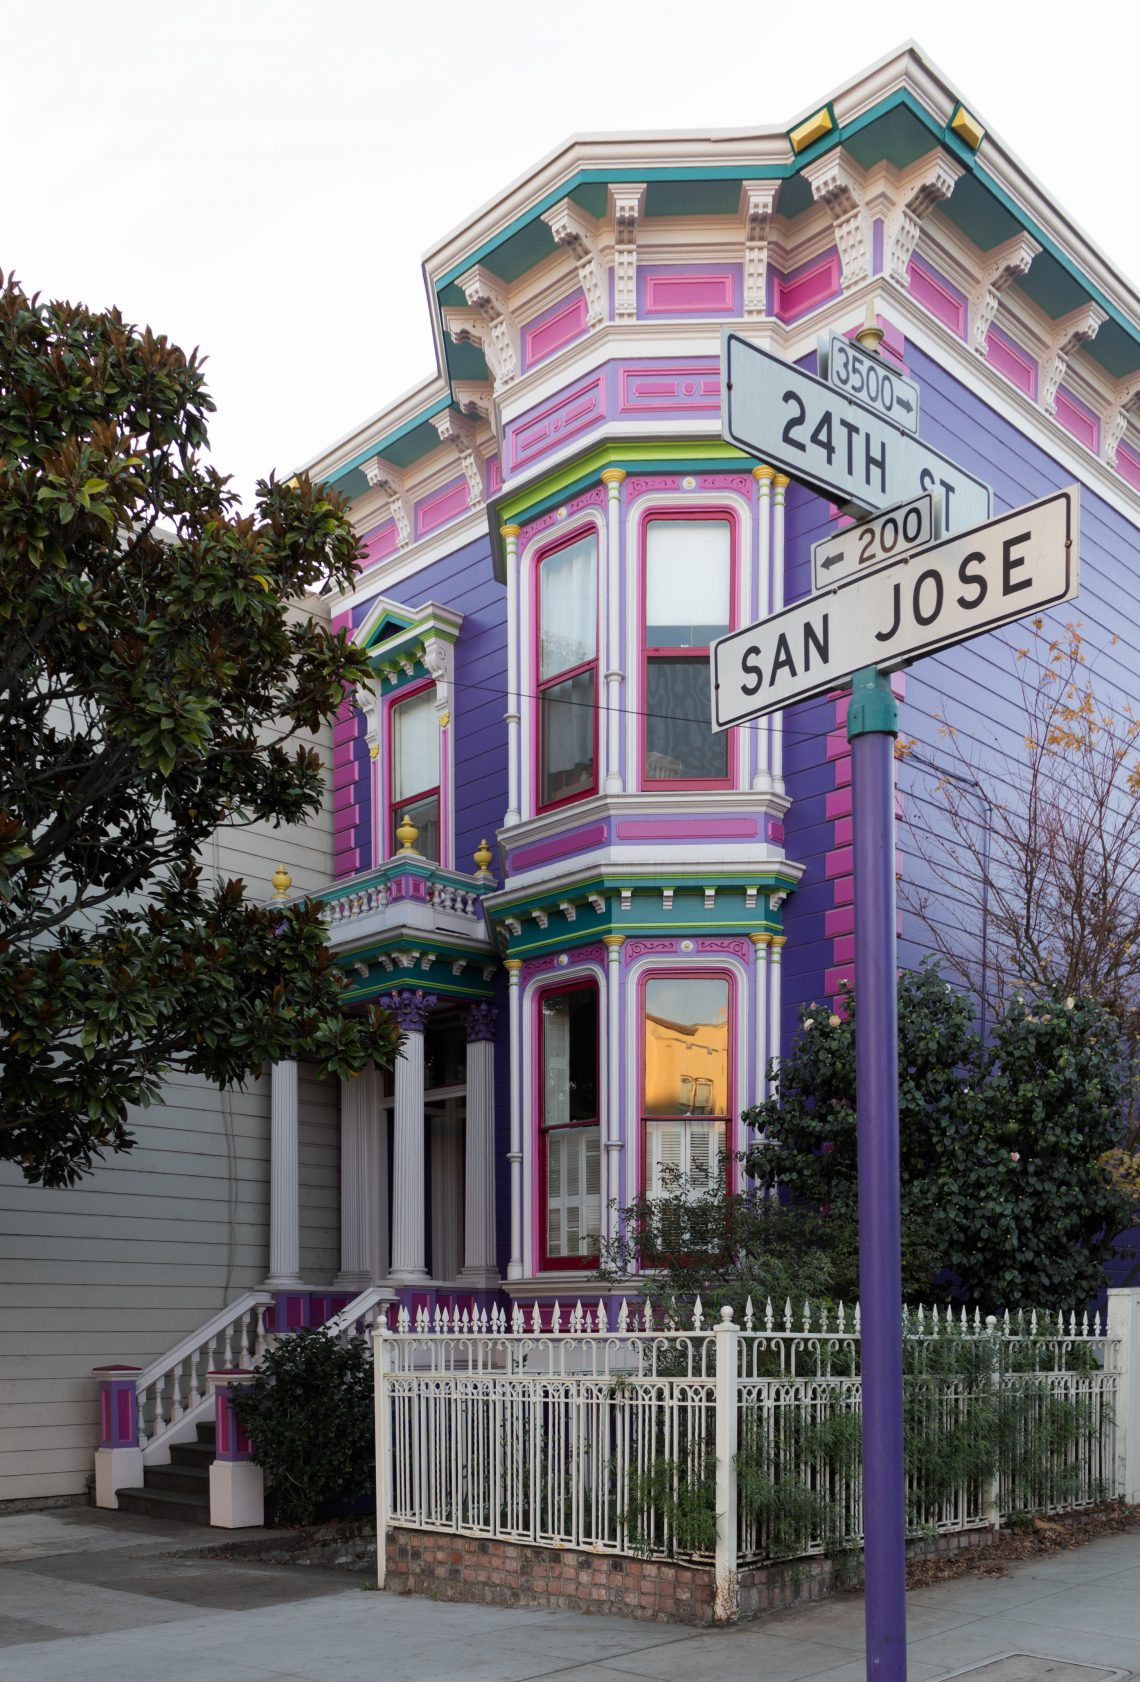
Taken from the San Francisco Opera.


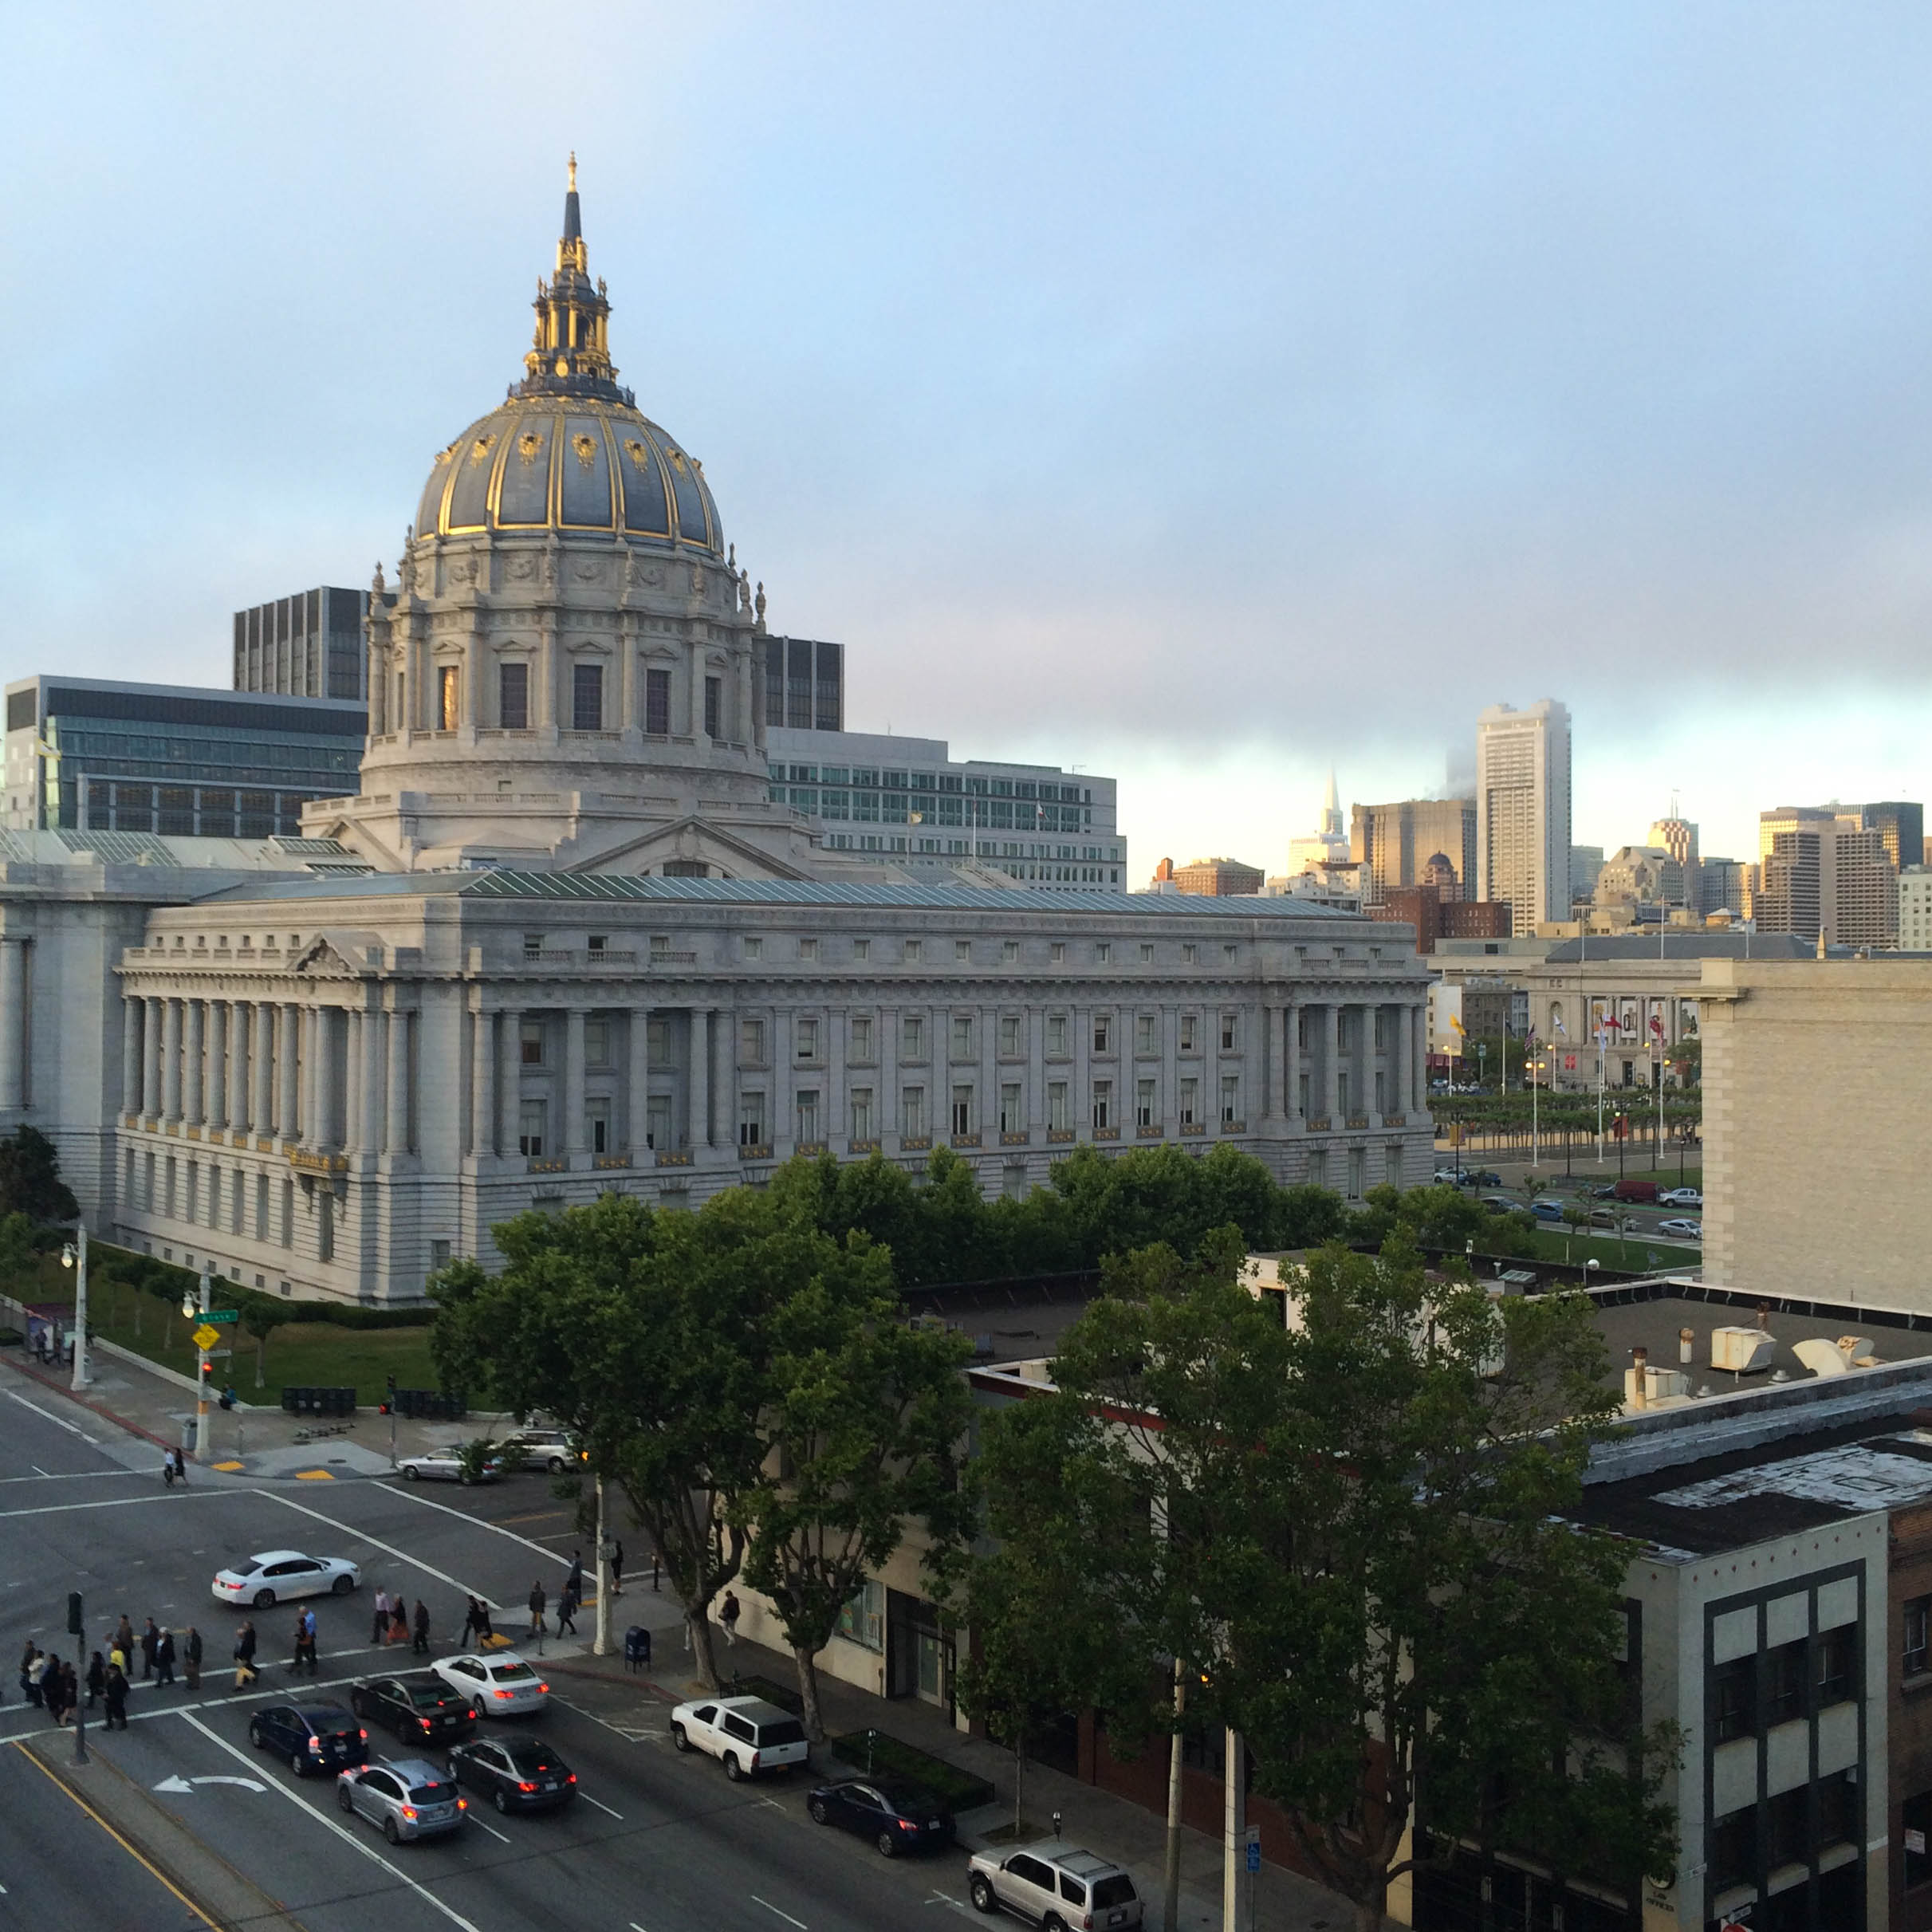
Who doesn’t love an oversaturated sunrise shot?
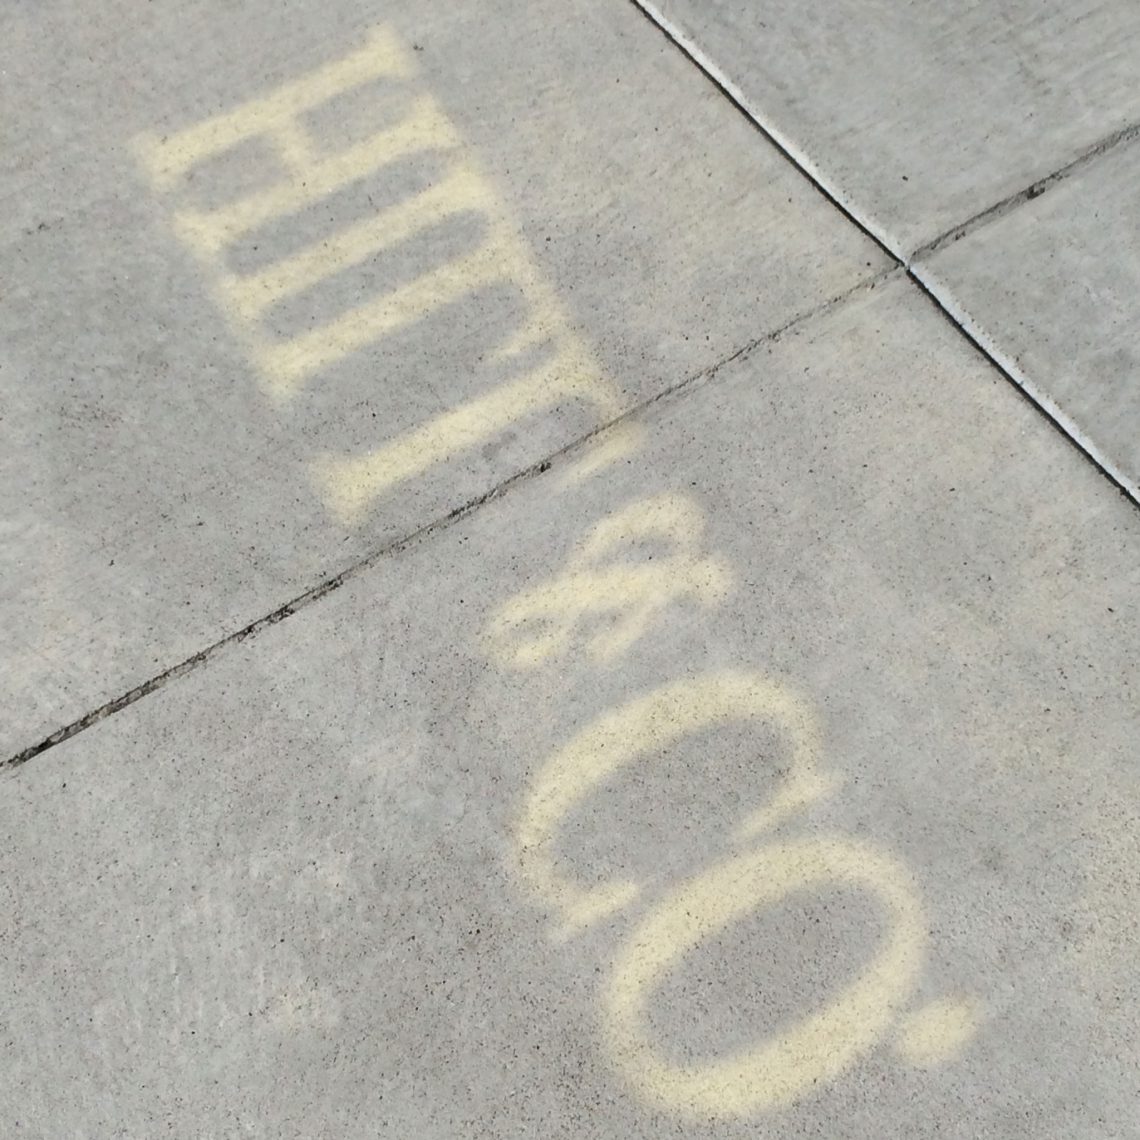
Caustic lighting reflection from a gilded sign.


Vacation is over. Headed back to SC.
Taken from the San Francisco Opera.
Who doesn’t love an oversaturated sunrise shot?
Caustic lighting reflection from a gilded sign.
Vacation is over. Headed back to SC.