the Blog
RSS Feed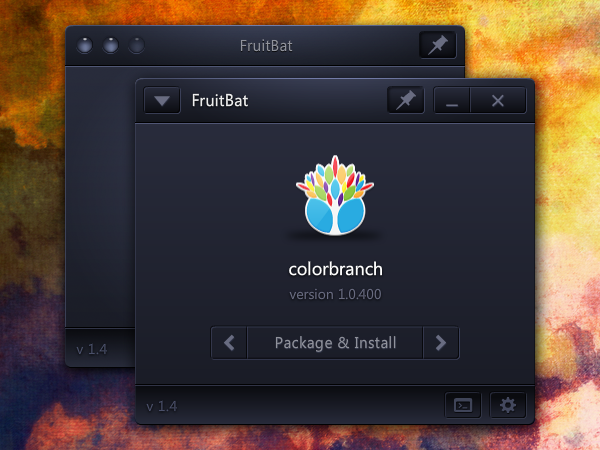
Considering it has been so long, I’ve decided to release a public beta of the in-progress version of FruitBat… and this time something for the Mac folks too! As there is so much new stuff, be sure to check the main page for instructions, though you probably won’t need them because most actions have only one step. How’s that for easy?
This beta installation will expire and no longer run at midnight on December 31, 2011.
Updates have been enabled for all current installations. To install the current version, use “Check for updates” from the Help menu. Settings are not compatible between the two versions, so they will have to be redone via the new Settings window. Update is not required if you would like to stay with version 1.3, despite its display bug.
Download links, release notes, known issues, etc. after the jump.

Digital Origami began life as vector icon illustration that wasn’t going quite the way I wanted.
After a couple of hours, I decided to take a different direction for the icon, but I was left with a collection of interesting shapes, colored perfectly, for creating the look of folded paper.
The shapes were arranged by hand to create a repeating pattern. The arrangement leaves small imperfections throughout the piece giving it depth and a hand-folded look.

When I’m designing brushes in Corel Painter, I like to make quick squiggles and marks to see how the dynamic the stroke is.
Sometimes, I save them with silly filenames. I have tons of these scattered through the years.
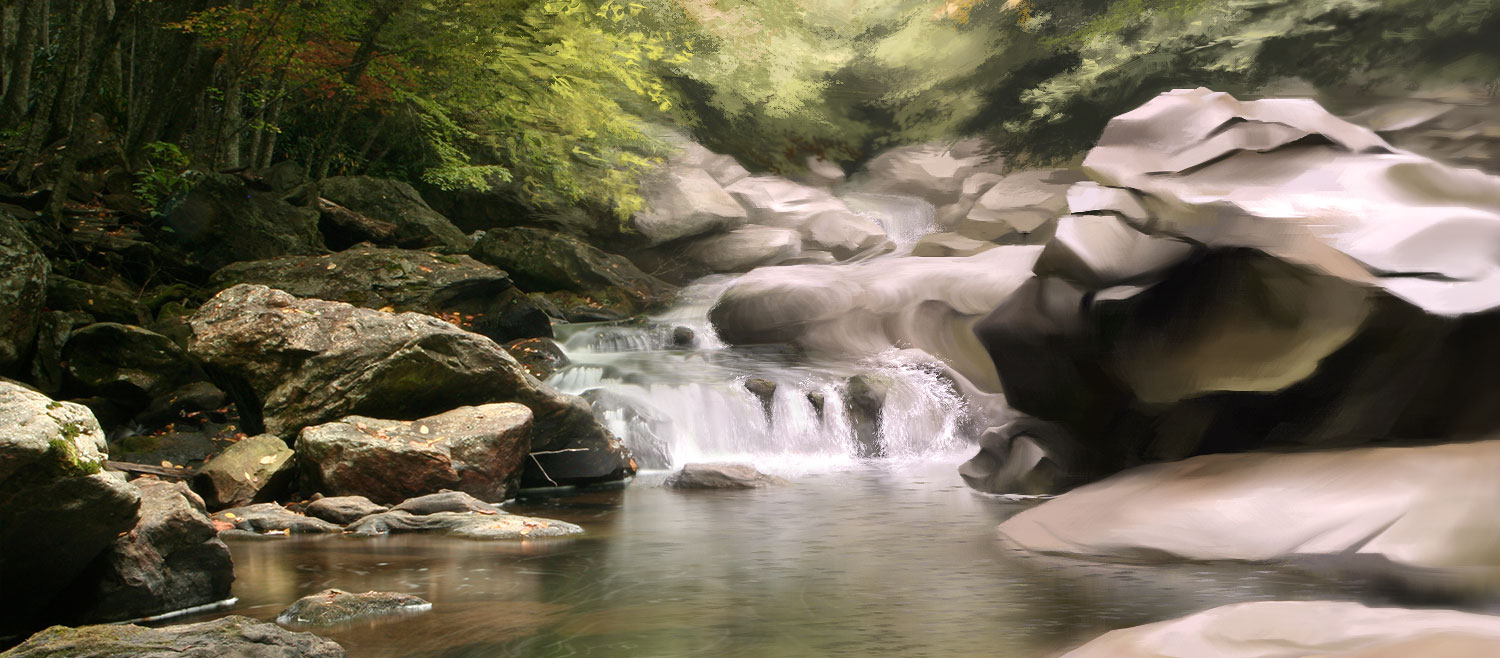
Photo-painting can be a great way to enhance landscape photography and turn it into something more than just another snapshot.
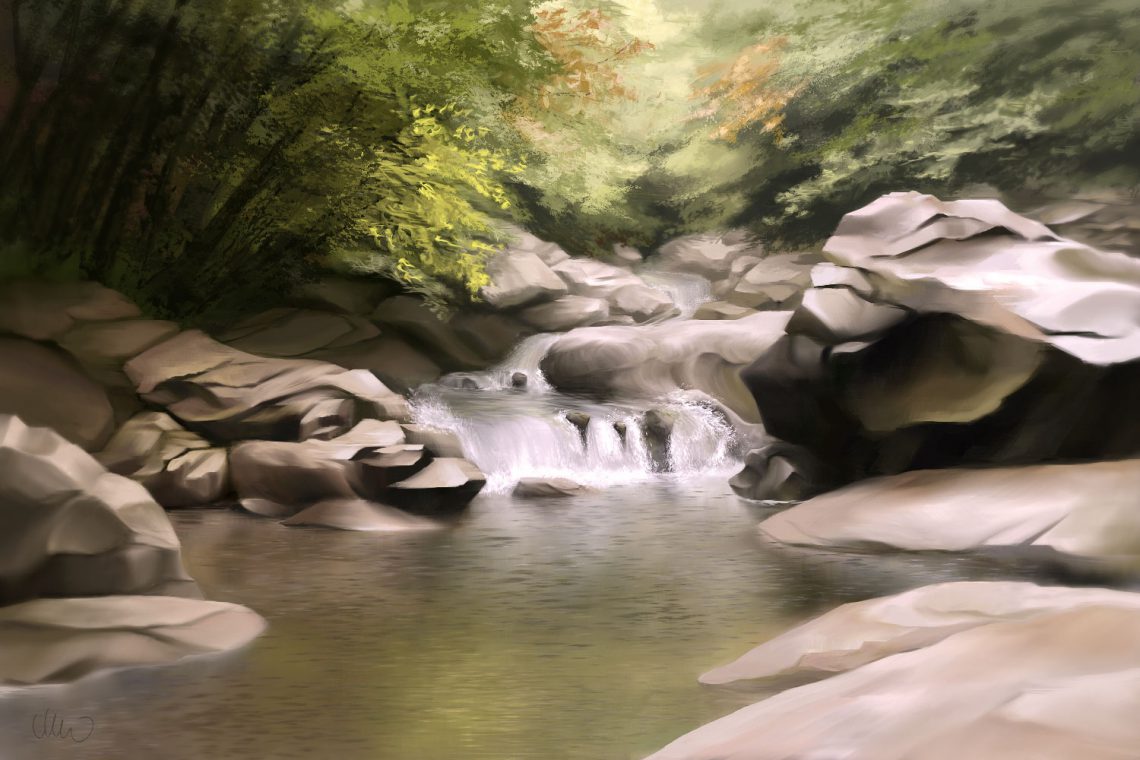
Based on this 2007 photo.
What a nice surprise!
Using Tablet OS SDK version 1.1.0 and AIR 2.7, the main screen in FruitBat that shows your application’s icon when a descriptor is loaded may show “undefined” for both app name and app version. This does not affect FruitBat’s main functions; it still works as advertised, you’ll just see “undefined” instead of your app’s name or version. This includes the name of any packaged BAR file. You can change the package’s filename to anything you wish after it is generated (all of the important “stuff” is inside).
The fix has already been completed for the next update.
Photo by Christa ‘Tink’ Hanson at Greenwood Geek Breakfast
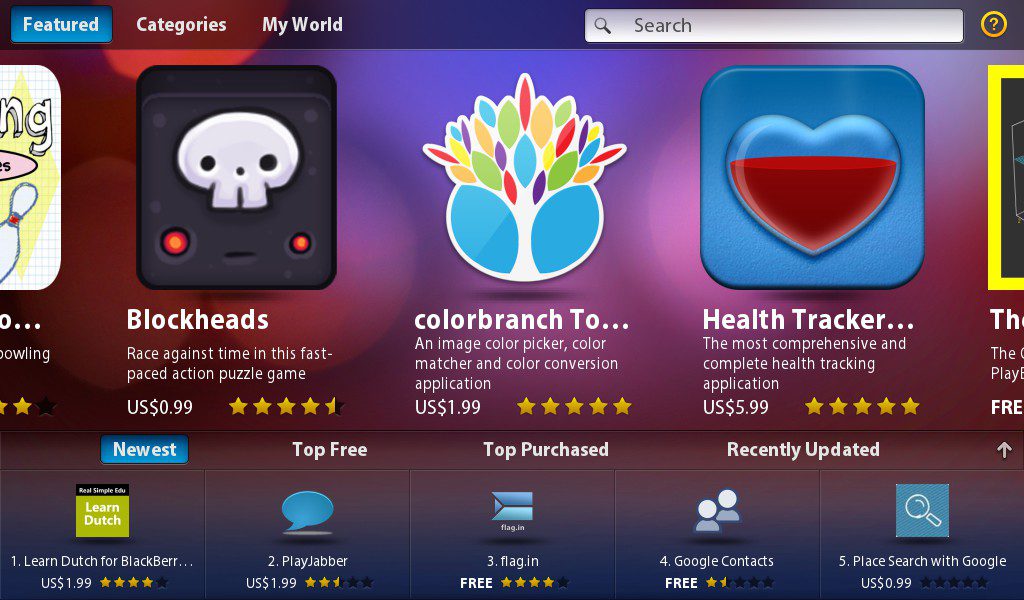
Painter has a few ways of creating color palettes from images whether it be through color sets, the Match Color command or the stylistic coloring achieved through automatic processes such as in the Underpainting panel. Now, add one more: the Mixer panel. With MXSMaker, it is very easy to convert any JPG, PNG or GIF file, with transparency preserved, into a Mixer Pad file that can be loaded directly into the Mixer panel of Painter 8.1 through Painter 12.
The current version of Brush Manager will not receive an update specifically for Painter 12; other plans are in the works. However, the current version is compatible with Painter 12. Here’s what to do:
- Open the Settings panel by clicking the wrench icon in the title bar.
- Leave your settings the way they are, especially User Mode which should be set to YES for most users. If you use a location that isn’t one of the default locations for Painter (ex. a folder on D: drive), skip steps 3 and 4.
- For consistency choose Painter 11 from the Painter Version drop down.
- Click the button that says Set to Default Location, then check the checkbox beside it for using a custom path.
- If your path uses Application Data or AppData in Windows or Application Support on Mac OS, change 11 (or your version number) to 12 — this should be most users. If your path uses Program Files on Windows or Applications in Mac OS, change “Corel Painter 11” to “Painter12″ with no spaces. Windows 64-bit users should also remove ” (x86)” — the space in front of it too– from the Program Files folder name.
That’s it! This will install brushes into the Default workspace in the Painter Brushes library. Changing “Default” to another workspace name will use that workspace instead. Changing “Painter Brushes” to another library name will use that library instead. It’s all pretty straightforward.
If you do choose to use a different workspace or library, my recommendation is to use the Browse button that opens beside the path’s text box, just to make sure spelling and spacing are exact. The folder selection dialog that opens will be set to your current location and you should be able to see the folders for your other workspaces. Expand a workspace along with its Brushes folder and choose a library (any folder inside of the Brushes folder) and click OK. Now Brush Manager will install into the chosen workspace and library.