Photoshop Painting Study: Siberian Husky
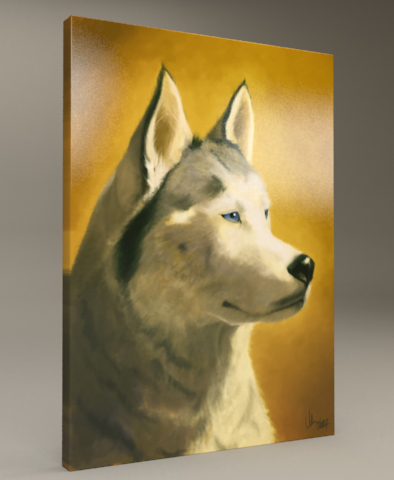
Here is a painting I’ve been working on for a few weeks. I’ve always been amazed at how artists are able to paint from scratch in Adobe Photoshop. It really is a robust program that is well-suited to painting. While the brush system isn’t quite as complex and realistic as Corel Painter, it is very possible to use Photoshop as a fine art medium.
I won’t go into a complete tutorial in this one, but the basic process is similar to glazing with traditional paints. Semi-transparent layers of color are added to the virtual canvas using a Wacom tablet and pen, one on top of the other, until the final image begins to emerge. The following are some of the steps from my husky study.
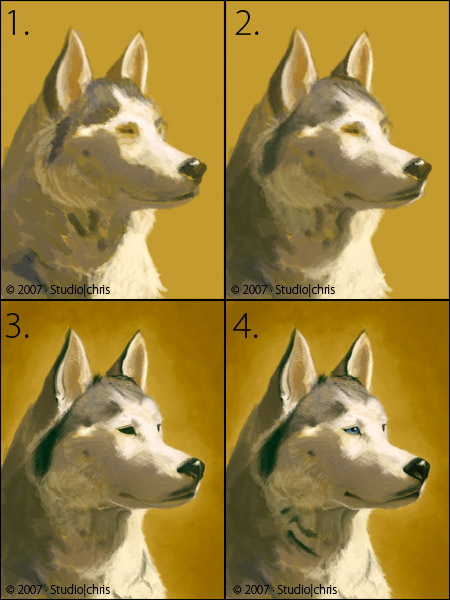
- Step 1 establishes basic shape and a starting point for values of the painting.
- Step 2 is a continuation of the process. I start adding more darks to help define different areas.
- Step 3 is where I really started defining the final shapes and being rendering toward the final image.
- Step 4 is more of a continuation. The darkest and lightest values are established, shapes are finalized and the detail work begins.
- Step 5 (below) is all of the detail work that will really give this portrait life and that touch of realism to make it really shine. I’ve cropped this image from the full painting at 100%.
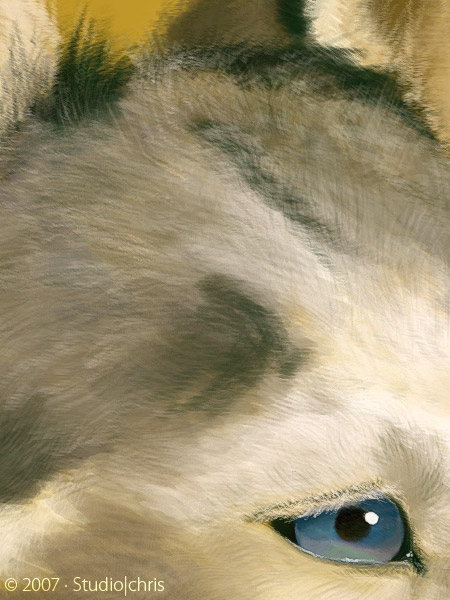
The painting isn’t quite complete at this point, but I am still working on it. This piece is destined for a stretched canvas. I’ll post the final when the work is complete.